How to start 3D printing miniatures?

Miniatures LegendBuilds

How to start 3D printing miniatures?

a small step-by-step guide

You finally decided that buying ready-to-go miniatures is something of the past, you are going to start printing those mini’s yourself. Well great for you. There are two big schools of 3D printing miniatures: FDM-printers or resin-printers. In this guide we will help you setting up a resin printing factory – just because in our noble opinion this is the best way to print miniatures for your tabletops. 

But where to start? No worries. The 3D printing community has grown a lot over the years and information about 3D printing miniatures is easily accessible. But if you still want a step-by-step guide for creating your own miniature making forgery: Just read along!
The first thing to fix is a nice space. You of course need a 3D printer on a stable table or tray – you don’t want your 3D printer situated next to your washing machine – but you also need some working space. Also pay attention to ventilation. There is always a filter in resin printers – but it is never bad to open a few windows when you are printing. Also important: JUST KEEP THE KIDS AWAY. Another tip: if you put your 3D printer in your shed or barn that is no problem. EXCEPT if it is to cold. Most resins only cure well at room temperature, and if it gets to cold you will get a lot of failed miniatures. 

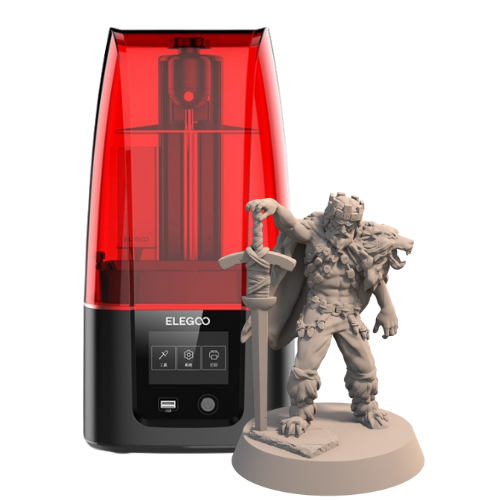
In recent years 3D printing has taken a flight, so there are a lot of 3D printers to choose from. But which one to choose? We at LegendBuilds ourselves use the Elegoo Mars series using the SLA technique. A serie of 3D printers with great quality and features. It got a nice LCD-display with a great resolution and has a great volume. With some puzzling i can easily fit in 20 miniatures at the same time on the building plate.

You now need some of the liquid gold – i mean resin – for you to start printing miniatures. You have resins in a dozen colors and shades. Even translucent ones. But because we are miniature maniacs we love the good old gray color, don’t we? Thats why we at LegenBuilds use the Wanhao Gray Resin. It takes an average time for printing, spits out sturdy miniatures and is a rather fine resin. It is NOT water washable but it needs an extra step to clean your 3D printed miniatures – which we will explain later on.

Also pay attention that you have different kinds of resins: SLA, DLP and a few others. Just check what kind of technique your printer uses and by the resin that fits with the machine you bought.

You also need some other equipment, most comes already along with your 3D printer. Like a scrapper (the black thing you use for getting the miniatures of the building plate), and a pair of pliers to cut of supports.

But you need more than this. Definitely using resin printers you will need a lot of paper towels, normal ones and wet ones. Cleaning uncured resin (when it is in liquid state) is easy, but when it hardens it becomes a lot harder to clean. You will also need your safety equipment: plastic gloves and a mouthmask – always use these! ALWAYS! No exceptions. 

Okay, you got a nice stable, table, a great 3D printer plugged in, a fresh bottle of resin standing next to your desk, some paper towels, a scrapper and all other equipment – ready to create some lovely miniatures.

But wait! We forgot the most important requirement for printing miniatures: the STL file! If you found this blog piece in the first place, you probably already know what this is – a STL file. The blueprint of every miniature you are going to print. Great sites to get these files are: MyMiniFactory, Patreon, Cults3D.

You have probably seen it but you got miniatures, and you got supported miniatures. Because a printer goes only one way, it cannot return to outstanding elements of the miniature. Therefor it already creates a column (a support) so the element can be created when the building plate reached that slice of the miniature. Most miniature makers already sell there miniatures with supports, so you don’t have to do it yourselves – but always pay attention to this.

MyMiniFactory Patreon

The miniatures (with .stl extension), have been put on your data stick. Data stick inserted in your printer, printer started, and the printer is printing your lovely miniatures ( it takes around 4-7 hours). You are ready to start your journey as an official member of the 3D printing community. You hear a last rip-off (the miniatures coming of the building plate cause a noice which sounds like you pull a glued thing of someone else) and the building plate is leveled all the way up. Now you can start scrapping of the miniatures of the building plate.

First: put on the gloves + mouth mask. Scrap off the miniatures – put light pressure with your scrapper at the base of the miniatures, and they should come off quit easy.

Don’t be demotivated if it fails, sometimes a miniature just fails. This could be due to different reasons: a shaky environment, not a great temperature, a little bit of waste floating in the resin or something else. Don’t be scared, this happens. But there is probably a dunk of cured resin now attached to the plastic in the resin bath. Don’t start picking this off because you can destroy the plastic film seperating the resin from your expensive 3D printer. Most printers have a cleaning function underneath the tools section. Use this so the bottom is fully covered in resin and than you can pull it of with ease. 

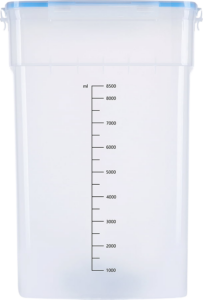
You now need to clean the miniatures of some uncured resin. The miniatures have just been dropped in a bath of liquid resin for a few hours and probably not all residu had dripped off. Because we are using a non-water washable resin we need to clean the miniatures. For this cause we use isopropyl alcohol or IPA in short, which is bought easily on the internet. Just google for jewelry cleaning liquid.

It is very cheap, and you can re-use the liquid! Dunk the miniatures in the liquid for a while and you will see a white wash coming down in the liquid. After this always wash your miniatures a time more in plain tap water to clean of all other residus. Definitely if you are printing complex miniatures there could be some uncured resin left behind.

IPA bin for 3D printing

Now you have your miniatures cleaned you need to rid them of these support beams which came along. If a miniatures is supported with great care this is an easy task. Just grab the miniatures in your fingers and push a little bit on the supports – you should hear them snapping. Just watch out for tiny elements (like swords or spears), but most supports should be breaking away with ease.

If not? Use your pliers.

Your miniatures have now been created in the real world, they have been cleaned, ridden of extra support beams, and they are ready to be painted! Are they? They still feel a little tacky and that is because the resin hasn’t cured all the way. You still need some curing for this.

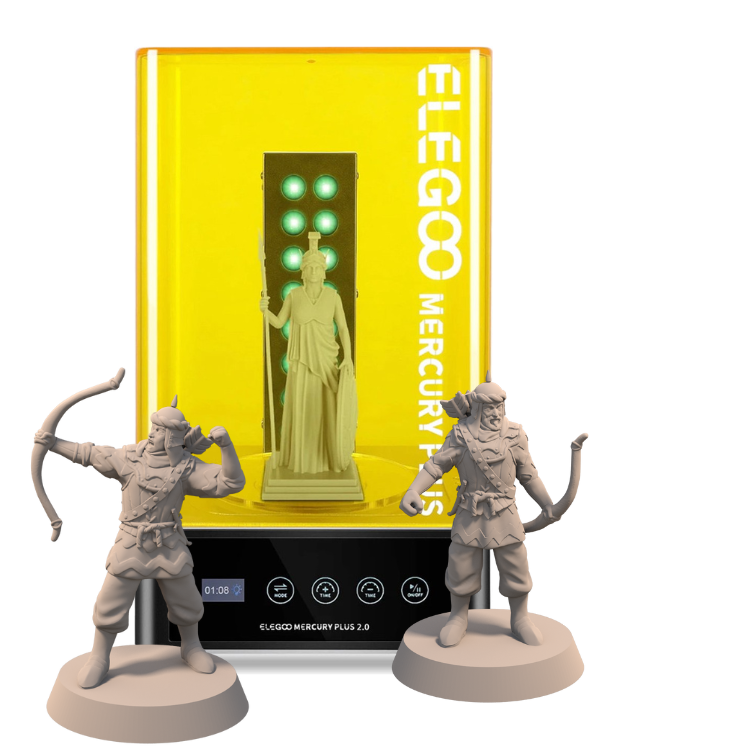
The easiest way is to just put the miniatures besides the window for 24 hours so the sun can do this for you with its UV radiation. But you can also just buy/create a UV chamber to fix this issue within 10 miniatures. I never expected miniatures to be needing some tanning before they could be painted – but that’s just the way it is.

You have done it, you have printed your first ever miniature and you started the 3D printing miniatures journey in this community. Congratulations on this great achievement!